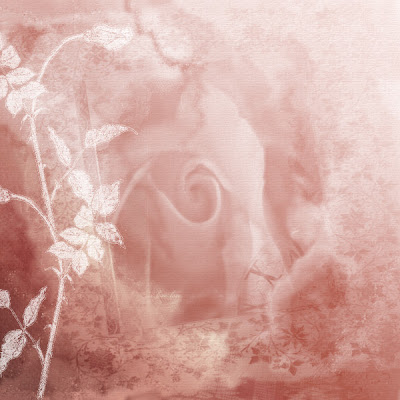
Layouts Using Blending Overlays in PSP
I strayed away from the tutorial slightly but had fun just the same
The photo was taken by one of my nephews.
TUTORIAL LINK
Showing posts with label Overlay. Show all posts
Sunday
Layouts using Overlays
Artist exploration, watercolour, creativity, inspirational, digital graphics, Journal Art, Scrapbooking, design, patterns, seasonal art, fun art,
Monday
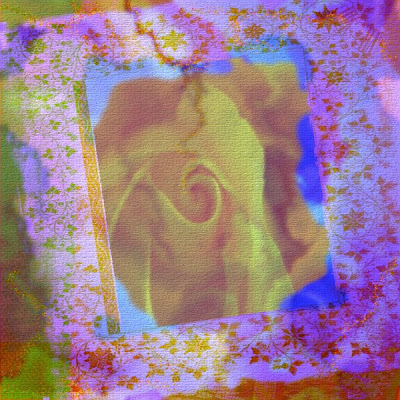
Colourful Grunge Paper
Below are the directions:-
Working on a 12" x 12" 300 pixels per inch canvas.
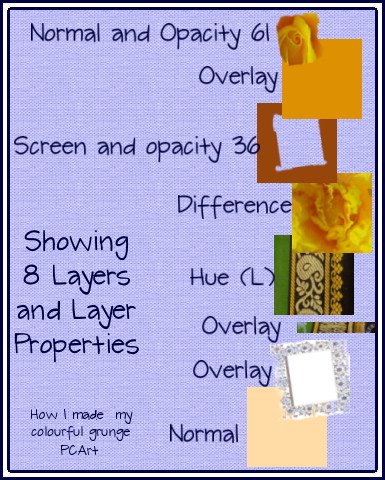
There are 8 different layers in Paintshop Pro and the layers have different Layer Properties from top to bottom. You can also see the different images used.
To change the colouration below:-
Open the merged colourful image and copy to paste as a new image into your workspace.
Close the original colourful image.
Change the image in your workspace to Greyscale
Increase the colour depth to 8 bits.
Apply a pink overlay or color of your choice and adjust the opacity of this layer.
Added the fern and clock face to the sides.
Labels:
Grunge Paper,
Overlay,
Scrapping with Paint Shop Pro
Artist exploration, watercolour, creativity, inspirational, digital graphics, Journal Art, Scrapbooking, design, patterns, seasonal art, fun art,
Subscribe to:
Posts (Atom)