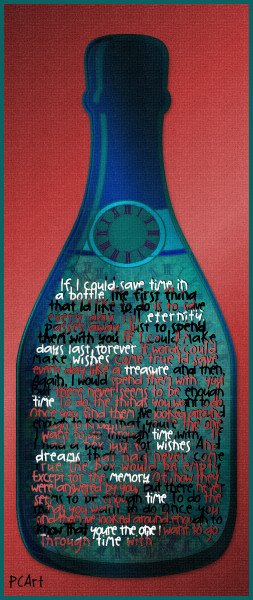
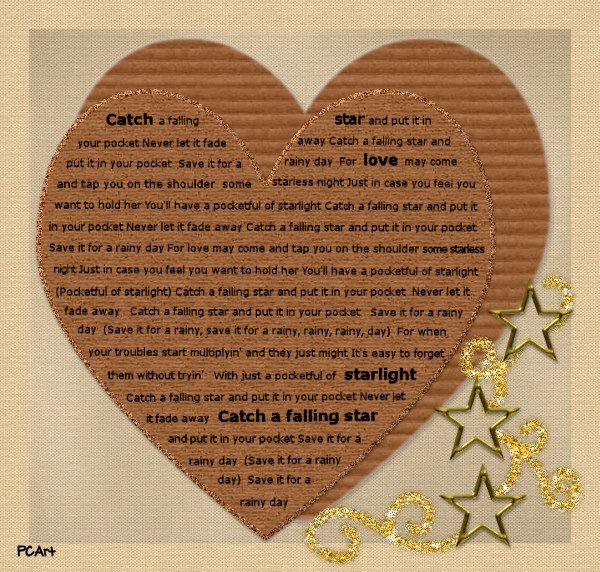
How to wrap text inside a shape

With the one above I selected my text when I was done and used the spray gun to paint over the words, it looks kind of grungy now.

With this one I played a bit longer to get the text positioned exactly as I wanted it in the heart and then played with what I have learned from 36 Glitter Elements and this Cardboard Tag (Video) tutorial, and the vellum tip from J. below.
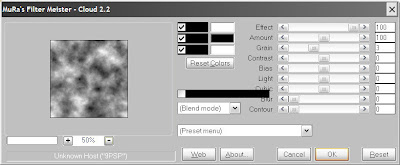
You will need Mura Meister Clouds available here
1. Start with a blank transparent canvas, size up to you.
2. Set your foreground color to black and background color to white.
3. Go to Mura Meister Clouds under your filter directory and just apply the default settings.

4. Apply a gaussian blur of around 50.
5. Then adjust the opacity to around 22 or whatever looks good to you and voila, vellum. You can even add a poolshadow if you wish. J.


