by PCArt
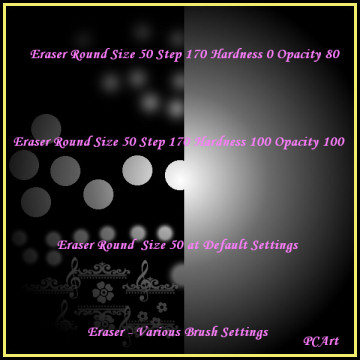
The eraser can be a useful tool when creating papers - decorate the top layer using various brush patterns along with the eraser instead of the paint brush to pull the bottom colour through in places.
Open a new Canvas (12 inch x 12 inch at 300 pixels per inch)
Fill your canvas with a colour or a pattern.
*I filled the bottom layer with a pattern fill "Cracked paint"
Add a New Layer and fill with another colour or pattern.
*I filled mine with colour #989dc4
Click on your eraser tool and then choose a brush pattern.
Then on the top layer
Use the eraser at various settings, changing the size, step, density and opacity to see how your eraser works.
Then change your top layer opacity options to dodge, or burn or difference, or luminance etc.
and notice the various results! You will be pleasantly surprised by the different effects you can create.,
*Mine is on Multiply.
Apply additional Texture if you wish or even more layers and repeat what you have done.
* My texture is Effects / Texture Effects / Textures set to Default - then Texture - Grain Long - size 270 and depth 3
- then merge the layers and save as yourpapername .jpg
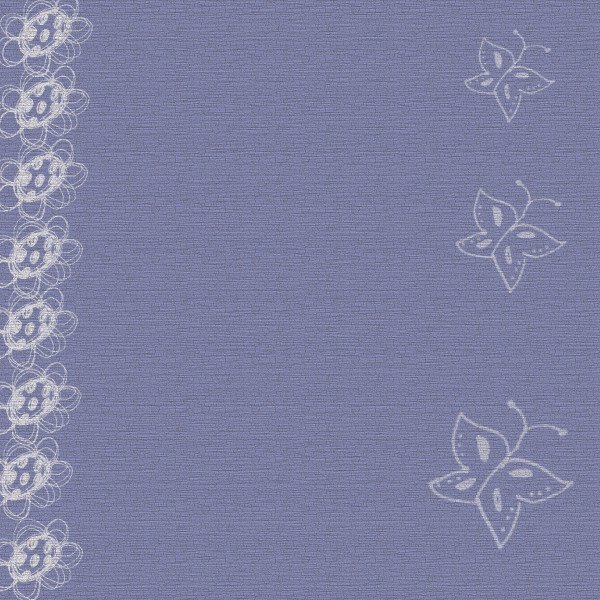
Preview resized to , 78 pixels per inch at 600 pixels by 600 pixels smart size.
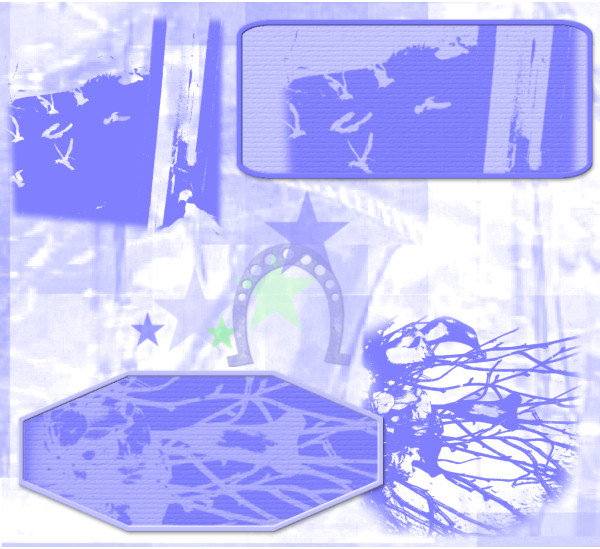
When creating Grunge effect on Papers or items - the trick is to play with multiple layers set at different layer properties such as overlay, burn, dodge etc., and also the opacity of those layers - and distressing your layers even more by using your eraser brush.
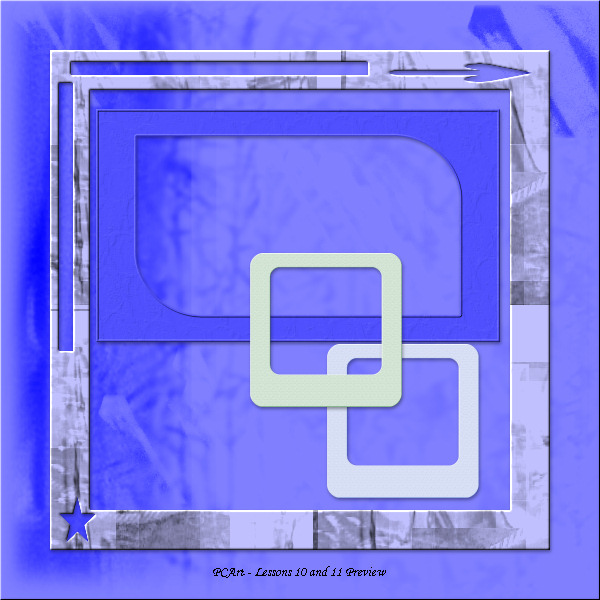
I made the brushes from photographs I took of seagulls flying past my window, and from a bunch of lilies and twigs at Christmas time,the others were from preset shape star just brushed on in different colours and at different sizes, and a stamp from a horseshoe I tubed previously. I made the background from pieces of photos from some bits of some of my other odd photos all pieced together and overlaid and layer properties blend modes and opacity played with.
