
![](https://blogger.googleusercontent.com/img/b/R29vZ2xl/AVvXsEip2ccJimDx3sg_KIPY2vekqTsTsGKZmOmQ_7gLtNXffMIu-8cSqr8yxRMgfWNFLG5miSfh0sZ45r63GU1VtDRNYbTp7jZTh8NVh1FMWqPptSODf9VrE2jT6CxW2LeXul3P6thL/s400/PC-ArtDSCLesson50aa.jpg)
Below are the directions:-
Working on a 12" x 12" 300 pixels per inch canvas.
There are 8 different layers in Paintshop Pro and the layers have different Layer Properties from top to bottom. You can also see the different images used.
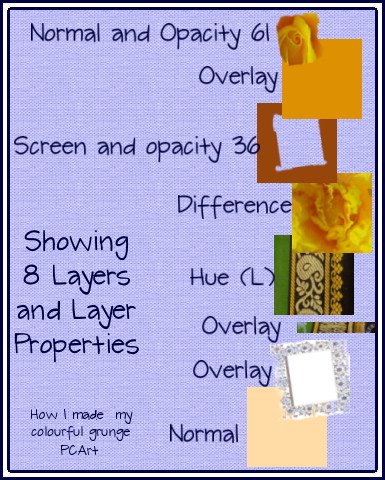
![](https://blogger.googleusercontent.com/img/b/R29vZ2xl/AVvXsEhiwxPZBPbSebY9WJUA7oYzjrdhXAL8Qsufu6fQt9SHYrzgzuiU2lCpu5dvD0YGuy-yx0s-lZ4HzhkoC1mN-zmslyOWOPUcypEfNeVHjbLs6xXZQKh08B9hlC9Nc247CpqsttWh/s1600/PC-ArtColourfulGrungeHOW.jpg)
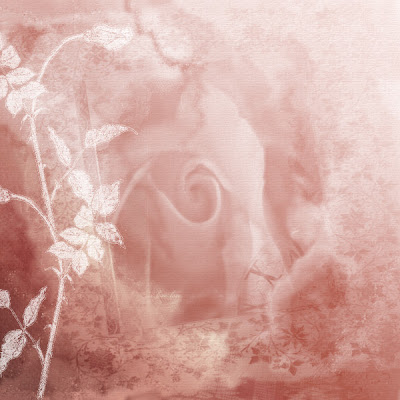
To change the colouration below:-
Open the merged colourful image and copy to paste as a new image into your workspace.
Close the original colourful image.
Change the image in your workspace to Greyscale
Increase the colour depth to 8 bits.
Apply a pink overlay or color of your choice and adjust the opacity of this layer.
Added the fern and clock face to the sides.
![](https://blogger.googleusercontent.com/img/b/R29vZ2xl/AVvXsEjnLmBqu_rg0qJ7bOnTO_FxVsxcoEMiOa4UdH02px4FB-beRw58LjBdYQoYE71FyH7R8j1TtgZOA_DQNA3712LSS7wjiUhlV_H3bsHcXiW0WuyyGnzS_K-90Z0ACFCZVpRn43Oh/s400/PC-ArtDSCLesson50a.jpg)
No comments:
Post a Comment