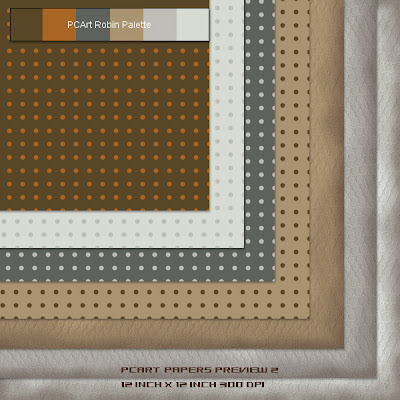
I just thought I had better say, when we create scraps we need a theme. We need to decide what our "kit" is going to look like, what it is about, or for. What Colours, what elements, frames, or such things to we want to incorporate into the whole. That is why I had you practice making a Colour Palette.
If you have created your colour palette for this first kit and you are happy with your colour choice then remember to refer back to it whenever you are making your elements or papers to keep within your theme.
If you are not happy with it - why not try again and when you are happy - you will feel more confident to continue with the rest of your "kit"
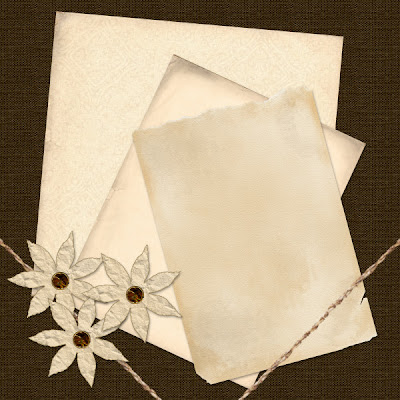
Talking about Papers!!! That is what I want you to play with this time - Paper is very important - it forms the background to your layout. You don't want it too busy that it takes over.
If you have never made papers for scrapping before then, Practicing on a 12 inch by 12 inch 300 dpi image in Paint Shop Pro can be very tiring and frustrating if it is going slow you might want to just quit! Don't! - Rather practice on a smaller image say - 600 pixels by 600 pixels so you can get the feel of how your paper might look - try a few practices of patterns colour fills and textures and also play with your effects - get to know what can be done and then as you build your confidence you can make proper papers.
Practice Making Papers
 My Method for the Tea Stained Edges Paper
New Raster Layer one - flood fill with my lightest colour from my Robin Palette
New Raster Layer two - Selection/Freehand Selection/Replace/Feather 71/AntiAlias Unchecked -draw selection quite wide in all around the edge - Selections/Invert - Flood Fill with #442f24 Tolerance 20 / Normal / Opacity 16 - Selections/Select None
New Raster Layer three - Selection/Freehand Selection/Replace/Feather 71/AntiAlias Unchecked -draw selection about half the last width all around the edge - Selections/Invert - Flood Fill with #442f24 Tolerance 20 / Normal / Opacity 20 - Selections/Select None
New Raster Layer four - Selection/Freehand Selection/Replace/Feather 71/AntiAlias Unchecked -draw selection close to the edge all around - Selections/Invert - Flood Fill with #442f24 Tolerance 20 / Normal / Opacity 30 - Selections/Select None - Change Layer Opacity to Darken
Then Close Bottom Colour Layer
Merge Visible Edge layers 2,3,and 4 / Adjust / Add Noise /Gaussian /Monachrome /50%
Open Bottom Colour Layer Colour and Apply Effects / Texture if you wish.
I applied a snakeskin texture at size 150
SAVE AS yournamepaper.jpg
You can change your background Colour apply texture and again SAVE AS anothernamepaper.jpg
I also saved my merged stained edge layer on its own as a .png to use as an overlay too.
Why not just dive right in and try using different fill patterns or make your own patterns.


