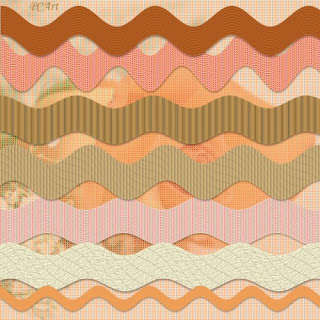
Rick Rack
I absolutely love the variety of tutorials and skill from this talented lady!

Creating Rick Rack or Ric Rac (I wonder what the correct spelling is here?) was easier than I thought it would be so I enjoyed this valuable lesson.

Tutorial Note from Pat
Click image for larger preview.
I drew mine on 17 inch x 1 inch canvas at 300 pixels per inch with a line width of 150 (to be able to use it corner to corner if need be on a 12 inch page)
I used a pale blue gradient to draw the line - Angle 0 / Style Linear / Repeats 7
At this size I made my Effects / Distortion / Wave settings
Horizontal - Amplitude 0 Wave Length 1
Vertical - Amplitude 6 Wave Length 3
SAVE AS .png
Experiment
Copy your rick rack and paste as a new layer
Try adjusting colours, using
Adjust / Hue and Saturation / Hue/Saturation/Lightness
Experiment with textures and other material fills, blinds effects etc.,


No comments:
Post a Comment