(by PCArt)

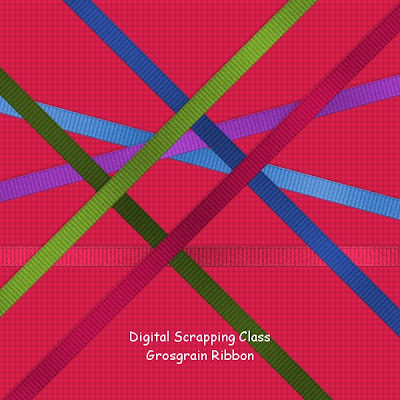
Preview Shown at approximately 20% - Click on image to see larger preview.
You may need to adjust the various settings depending on the size of your ribbon - please note tutorials are merely a guide for you to work with - ultimately the end result reflects your own creativity and individuality and style. Try different noise and blinds settings. Also when creating for a scrap page that you intend printing and creating at the large sizes stipulated, Try viewing at approximately 17% to 20 % to see what the printed image size will be like.
1 - Open a new canvas 17 inches x .50 inches (or however wide or long you want your ribbon to be)
17 inches is so that the ribbon can be used corner to corner at 45 degrees across a 12 inch x 12 inch page.
2 - flood fill your canvas with your colour
3 - selections /select all /modify /contract x 12 pixels / invert selection
4 - add a new layer and flood fill selection with a darker shade of your colour
5 - effects / texture effects / blinds / width 30 opacity 50 colour #202020 / horizontal and light Unchecked
6 - effects / 3d effects / inner bevel / default round - change depth and width to 2
7 - adjust / add remove noise / add noise gaussian monochrome 10 - 15
8 - lower opacity of this edge layer to 50 percent
9 - apply the same blinds and noise effects to the bottom ribbon layer
10 - merge visible
11 - effects / Greg's pool shadow / intensity 52 and lightness 190
12 - use your selection tool to select the end parts of the ribbon "frame" and delete so that your ribbon has raw ends.
13 - selections / select all / float / defloat / crop to selection
File / save as / image name .PNG
Greg's Pool Shadow Zip


No comments:
Post a Comment