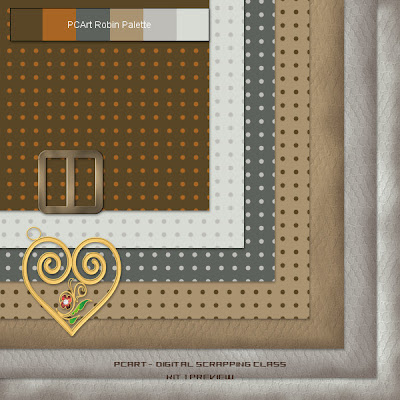
PC-ArtDSCKit1Prv.jpg - Click on image to see full size PREVIEW
weight for e-mail or web approximately 165kb
12 inch x 12 inch papers at 300 pixels per inch
Resized to
600 pixels x 600 pixels at 78 pixels per inch "smart size"
Elements resized to 17% or 20%
1 - Picture this.........
You have created a great collection of papers and elements and they are created for a 12 inch by 12 inch and 300dpi layout.
Now you want to show your kit to the world via e-mail or on the web but they are so huge!
Here is what to do.......This way you will maintain most of the detail and quality even though you are
downsizing everything.
2 - PAPERS - When you are satisfied with them - save each of them as yourpapername.jpg
I do this and then delete my paper .psp images because they are just way too big!
3 - Now you want to create a preview of your papers and you want to place all your gorgeous elements on to it as well.
4 - Open any one of your papers that are in .jpg format
Resize it from 300 dpi to 72 or 78 dpi
and change the size from 12 inches x 12 inches to 600 pixels x 600 pixels - "smart size"
5 - Now SAVE it AS yourkitnamePRV.psp
6 - Selections - select all - add a new raster layer - keep selected
7 - Open another paper and copy and paste into selection on the new layer
8 - Repeat steps 6 - 8 until you have all your papers on their own layers
9 - Selections - select none - move and rotate and position all your papers where you want them to be.
Save
10 - ADD ELEMENTS - open one of your elements
- copy and paste as a new layer onto your preview
resize only the element layer to 17% or 20%
this will show you approximately how big your element is against your 12x12 layout
11 - continue adding your elements in this way and moving them to your liking
12 - when you are happy with your preview add your name and kit name etc to the top
13 - add a new layer "select all" and crop to selection - this will get rid of all the paper edges that went out of view whilst moving them about.
14 - Merge your layers and Save your completed preview as .jpg for posting to your blog or group


No comments:
Post a Comment