Thursday

Old Fashioned Slide Mounts


Polaroid Tutorial Link

Polaroid Frame tutorial from Coral Discovery Centre

Note From Pat

If you are making your single slides for a printable scrap page - try making them at least 3.5 inches x 3.5 inches at 300 pixels per inch.

The round one in the middle has no tutorial - it is simply a preset circle, and a circle cut out, a rounded rectangle duplicated and flipped and merged, duplicated and rotated 45 degrees - and repeated to complete the circle of frames to make your own "viewmaster" type of slide. Here is my mini tut on the Viewmaster type slide, I hope it is clear and easy to understand.

Viewmaster


Saturday

Calendar page using a script


Create a Calendar Page
using script from Joske (for personal use only)
be sure to read instructions given at the download link

Tuesday

Valentine Candy Hearts


I made these hearts each on 600 x 600 canvas using Paint Shop Pro
see circle and heart on background of this image
using a preset shape heart
Various candy type colours
Arial Font 22 points
Eye Candy Extrude - experiment with settings
Add Noise

Example Fonts to use - Helvetica, Arial, Futura

Sans-serif fonts

Example messages

Sweethearts are small heart-shaped candies sold around Valentine's Day. Each heart is printed with a message such as "Be Mine", "Kiss Me", "Call Me", and "Miss You". Sweethearts are made by the New England Confectionery Company, or NECCO. A similar type of candy is sold in the UK under the name Love Hearts. NECCO manufactures nearly 8 billion sweethearts a year.
Sweethearts are now available in a variety of assortments to choose from including chocolate, tart, and smoothie flavors.

Monday

Easy Paper Patterns


Tutorial Note:

Using Project Dogwaffle 1.2 (Freeware) which you can download here

PURE EXPERIMENTATION
1) Download the Freeware
2) Scan for Viruses
3) Paint a random picture using the brush and various settings
4) Save as .bmp so that you can open it in Paint Shop Pro
5) Open in Paint Shop Pro and save as .jpg
6) Make a paper using Effects / Image Effects / Seamless tiling

Your creations are yours to do with as you please
This is merely an idea to spark your creativity!

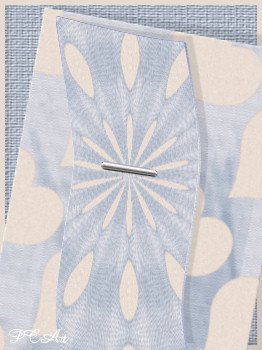
Staple

Staple made with the help of the tutorial by Shawna - Here


Friday

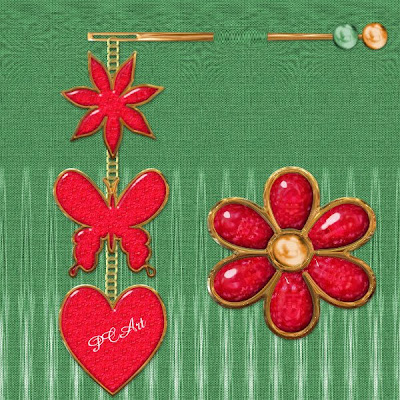
Metal and Gel Flower

Metal and Gel Flower


Make some fun elements for your scrap pages - Let's see what you can create!

Look at this tutorial to help you
Rhonda's Digital Designs


Thursday

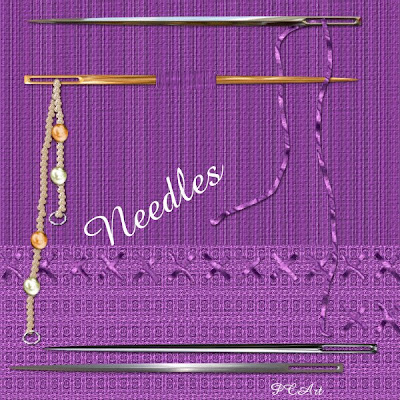
Digital Scrapbook Element Tutorial Needles


Above is my result of the needles elements made using the following tutorial.

Make some fun needles and threads using this tutorial as a guide

http://pspbuddies.com/pspTutor/CSGreen/needle/needle.html

See Shawna's tutorial to make thread here


Monday

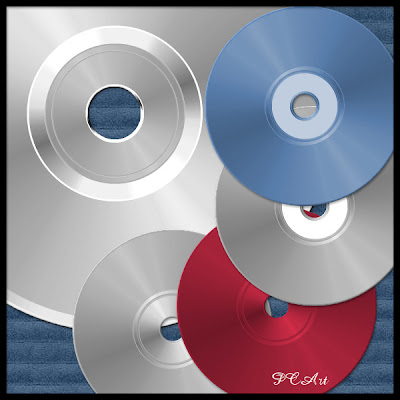
Create a CD in Paintshop Pro XI

Create a CD in Paintshop Pro XI
©PCArt 22 September 2008


To create this representation of a CD you will need
the UnPlugged Tools - CD Shader - Plugin available HERE

Open New Canvas 13cm x 13cm
Transparent
300pixels per inch
Foreground / Background / Colour White
Preset Shapes Ellipse Vector and Anti-alias checked
Hold Shift Key down to maintain shape
Draw out a circle from top left corner of canvas to bottom right corner (to fit canvas)
Object Align Centre in Canvas
Convert to Raster
Selections Select All Float Defloat
Effects / Plugins / UnPlugged Tools / CD Shader
Selections Select None This will be your bottom layer.

Duplicate First Layer Resize 40% (all Layers Unchecked) This is your Second Layer
Duplicate Second Layer Resize 90% (all Layers Unchecked) This is your Third Layer
Duplicate Third Layer Resize 95% (all Layers Unchecked) This is your Fourth Layer

Go back to your Second Layer
Adjust Brightness 0 Contrast 41

Go to your Fourth layer
Adjust Brightness 0 Contrast 41

Go to your First layer
Select white centre with the magic wand and delete this area on all layers.

Go to your top layer and select inner circle with the magic wand
add a new layer fill selection with white and apply CD Shader
Selections Modify Contract by 12 and delete.

Merge Visible
Adjust Hue Saturation Lightness
Hue 243 Lightness 6 Saturation 0

Add Label or decorate or colorize.
Play around with brightness and contrast.
Experiment with your settings.

Hope you have fun with this easy tutorial.
PCArt

Thursday

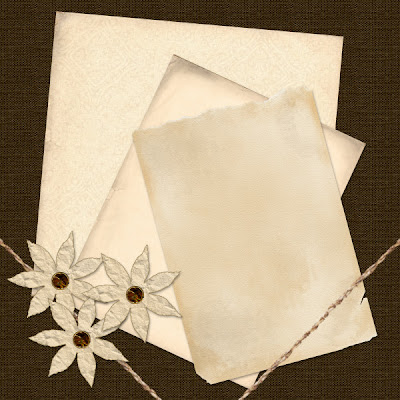
Old Paper by Shawna

Old Paper by Shawna


Tutorial Link

TOU from Shawna
If you do this tutorial, your end result is yours to do whatever you wish; give it away as a freebie, use it as part of a kit, or sell it for profit. A mention or a link back here would be appreciated but is not mandatory.

Tuesday

Sizing for Posting / Creating a Preview
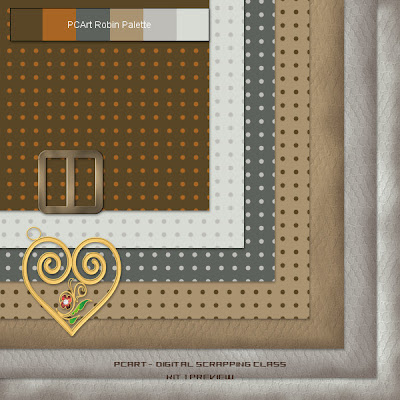
Sizing for Posting / Creating a Preview


PC-ArtDSCKit1Prv.jpg - Click on image to see full size PREVIEW
weight for e-mail or web approximately 165kb

12 inch x 12 inch papers at 300 pixels per inch
Resized to
600 pixels x 600 pixels at 78 pixels per inch "smart size"
Elements resized to 17% or 20%

1 - Picture this.........

You have created a great collection of papers and elements and they are created for a 12 inch by 12 inch and 300dpi layout.

Now you want to show your kit to the world via e-mail or on the web but they are so huge!

Here is what to do.......This way you will maintain most of the detail and quality even though you are
downsizing everything.

2 - PAPERS - When you are satisfied with them - save each of them as yourpapername.jpg
I do this and then delete my paper .psp images because they are just way too big!

3 - Now you want to create a preview of your papers and you want to place all your gorgeous elements on to it as well.

4 - Open any one of your papers that are in .jpg format
Resize it from 300 dpi to 72 or 78 dpi
and change the size from 12 inches x 12 inches to 600 pixels x 600 pixels - "smart size"

5 - Now SAVE it AS yourkitnamePRV.psp

6 - Selections - select all - add a new raster layer - keep selected

7 - Open another paper and copy and paste into selection on the new layer

8 - Repeat steps 6 - 8 until you have all your papers on their own layers

9 - Selections - select none - move and rotate and position all your papers where you want them to be.

Save

10 - ADD ELEMENTS - open one of your elements
- copy and paste as a new layer onto your preview
resize only the element layer to 17% or 20%
this will show you approximately how big your element is against your 12x12 layout

11 - continue adding your elements in this way and moving them to your liking

12 - when you are happy with your preview add your name and kit name etc to the top

13 - add a new layer "select all" and crop to selection - this will get rid of all the paper edges that went out of view whilst moving them about.

14 - Merge your layers and Save your completed preview as .jpg for posting to your blog or group